How to clean up your iPhone photo library
Sorting years of iPhone photos can feel like a job you'll never get around to. Here's how to make it manageable and pick up where you left off in Apple Photos.
Cleaning up your iPhone photo library can be a pretty annoying job, especially when you've let the photos pile up for years. There are similar shots to compare, duplicates to sort out, and pictures you probably don't need anymore. Looking at the whole collection makes it easy to put the job off again.
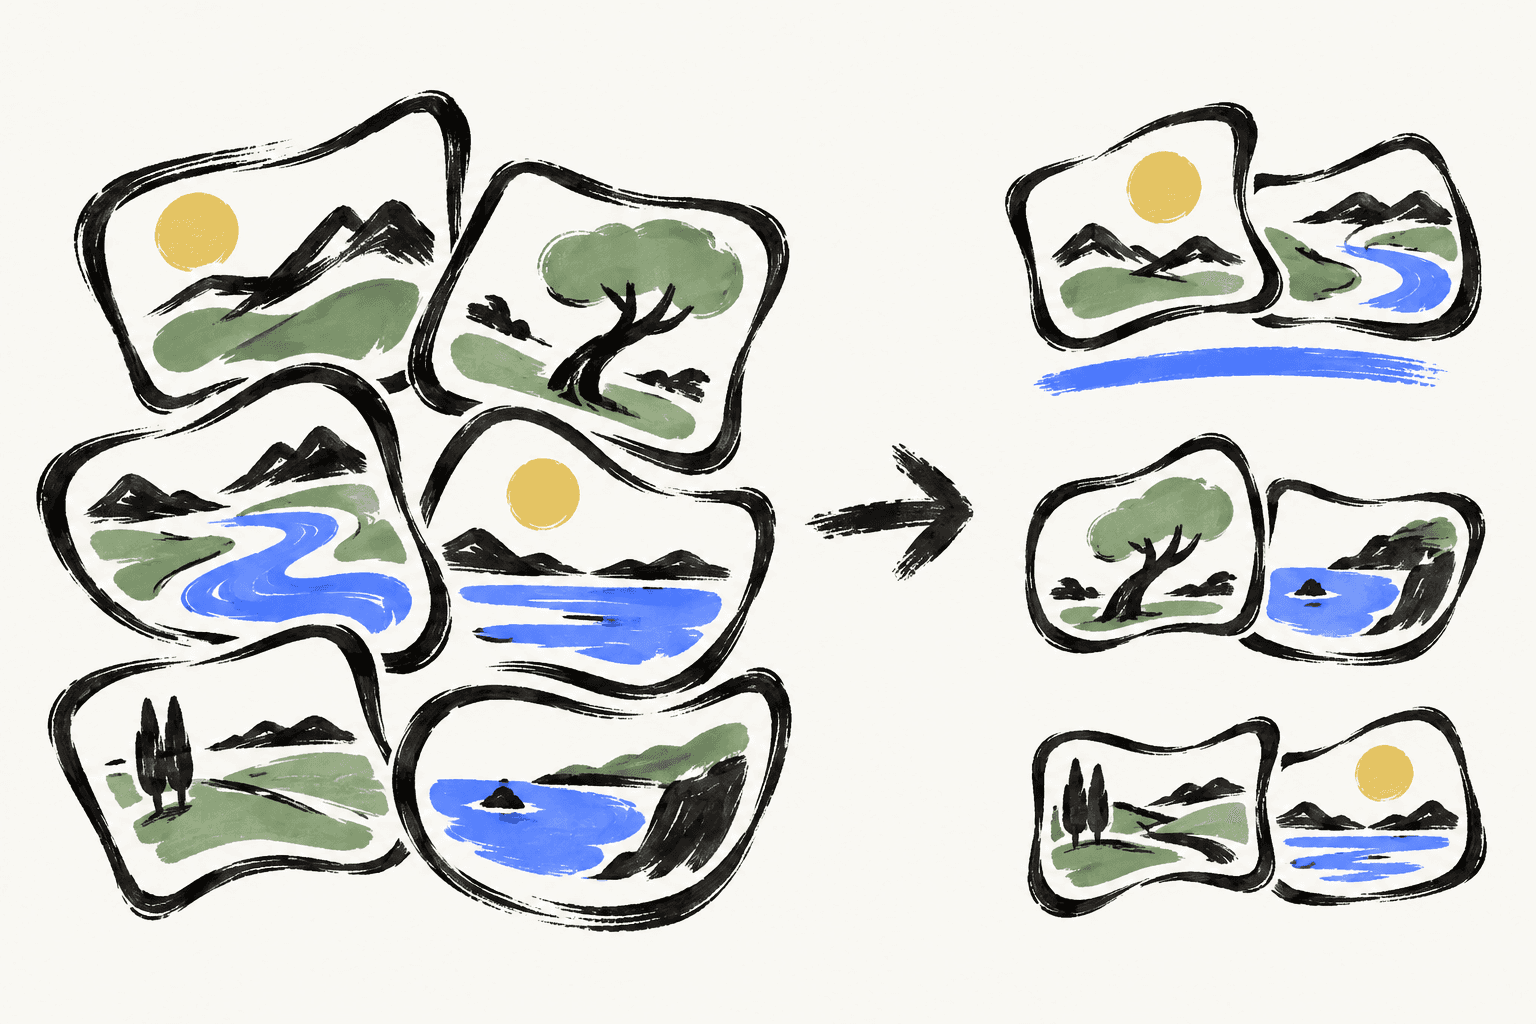
That's what I kept doing. What helped was breaking it into smaller sections. One week of photos gave me something manageable to work through, with a clear point where I could stop. I could keep the pictures I wanted, get rid of the rest, and pick up with the next week later.
You can use that approach in Apple Photos without another app. I'll walk through choosing a section, comparing the photos, and keeping track of where you've stopped, including the temporary albums I used myself.
If you mainly need more space on your phone: Optimize iPhone Storage can keep smaller versions on your iPhone while full-resolution originals stay in iCloud. That may help you keep the pictures you want without deleting them. It doesn't reduce your iCloud collection. Apple explains how to check your storage and use this setting.
Choose a section you can actually finish
A week works well for me because it gives the job a beginning and an end. I can look at that one section and know what I want to get through, rather than thinking about the entire library. Finishing it also gives me a clear place to continue next time.
The size is up to you. If you take lots of pictures, try a week or even a single busy day. If you take fewer, a month might feel just as manageable. Choose an amount you're willing to start, rather than the biggest section you think you should tackle.
I like working from the oldest unfinished section forward. You might prefer a recent week while you still remember what the pictures were for.
Choose one week
Review that section
Note where to start next
A week gives you a defined section to review and a place to continue later. A day or a month can work too.
Find all the photos in that section
Use dates to find your place, but check the view before you start reviewing. Apple's Months and Years views leave out some pictures, including similar shots and screenshots. Use All to see the full library; if you're browsing a day through Recent Days, choose Show All. Apple explains its date views.
For older pictures, sorting by Captured can be more useful than Added, especially if you've imported photos. Remove any filters or view options that hide the things you want to review. See Apple's sorting and filtering instructions.
Give yourself a place to come back to
Before building Photo Cleanup Lab, I used an automation to group my photos into weekly albums. I numbered the albums 1, 2, 3, and so on. Then I could sit down and say, “Today I'll do album 1.” When I came back later, I knew which section was next.
You don't need an automation to try this. For one temporary personal album:
- Note the week's dates, such as October 5–11.
- Go to Collections then Albums then + then New Album.
- Give it a clear name, add that week's photos, and choose Create. Something like “Cleanup 01 — Oct 5–11” makes it easy to recognize. Apple explains creating albums.
Use the album as your review list. You don't need to prepare years of albums before you start. And if a note with the next date is enough for you, skip the album and work from the Library.
Before you delete anything
Once you've chosen your section, there are a few things worth checking before you start removing pictures.
With iCloud Photos, deleting a picture also deletes it from your other devices synced to that library. Don't delete it from your iPhone assuming the same library on your iPad or Mac will keep it. See Apple's explanation of iCloud deletion.
Photos synced through iCloud Photos aren't also included in your daily iCloud Backup. Before a large cleanup, keep a separate copy of anything you couldn't replace. Apple explains what iCloud Backup includes.
You can normally recover deleted photos for 30 days in Recently Deleted. But Apple says that if you've exceeded your iCloud storage limit, deleted photos and videos are removed immediately and aren't available for recovery there. Check your storage before relying on that window. Items in Recently Deleted don't count toward iCloud storage, so emptying it isn't necessary to reduce that total. Apple documents the recovery exception and storage accounting.
If you use iCloud Shared Photo Library, other participants can delete shared pictures too. Only the person who contributed an item can recover it or permanently delete it from Recently Deleted. Start with your personal library if you're unsure which photos other people want to keep. See Apple's Shared Library deletion rules.
Work through that section
Now you've got a defined set of photos to look at. I find it useful to think about duplicates, similar shots, and individual pictures separately, because they involve different decisions.
Optional: check the duplicates Apple has found
You can do this separately from your weekly review. If you only want to work through your chosen section today, skip ahead to comparing similar shots.
In Photos, go to Collections then Utilities then Duplicates. Review the items before choosing Merge. Apple keeps one item with the highest quality and relevant data, and moves the extra copies to Recently Deleted. Apple describes merging duplicates.
If Duplicates isn't there, your phone may not have identified any yet. Apple says detection can take a few days and needs the iPhone locked and connected to power. You don't have to wait for that to start reviewing your chosen week. See Apple's duplicate detection guidance. Return to your chosen week or album when you're ready to compare the other pictures.
Compare the similar shots
This is where I spend more time. Several pictures of the same person or scene can still be different photos worth keeping. Go through the whole group before deciding which ones can go.
I usually look at a few things:
- Is the picture sharp enough, and does it look good to me?
- Do I like the expression and composition?
- If several people are in it, which shot works best for the group?
- Which picture captures the moment I actually want to remember?
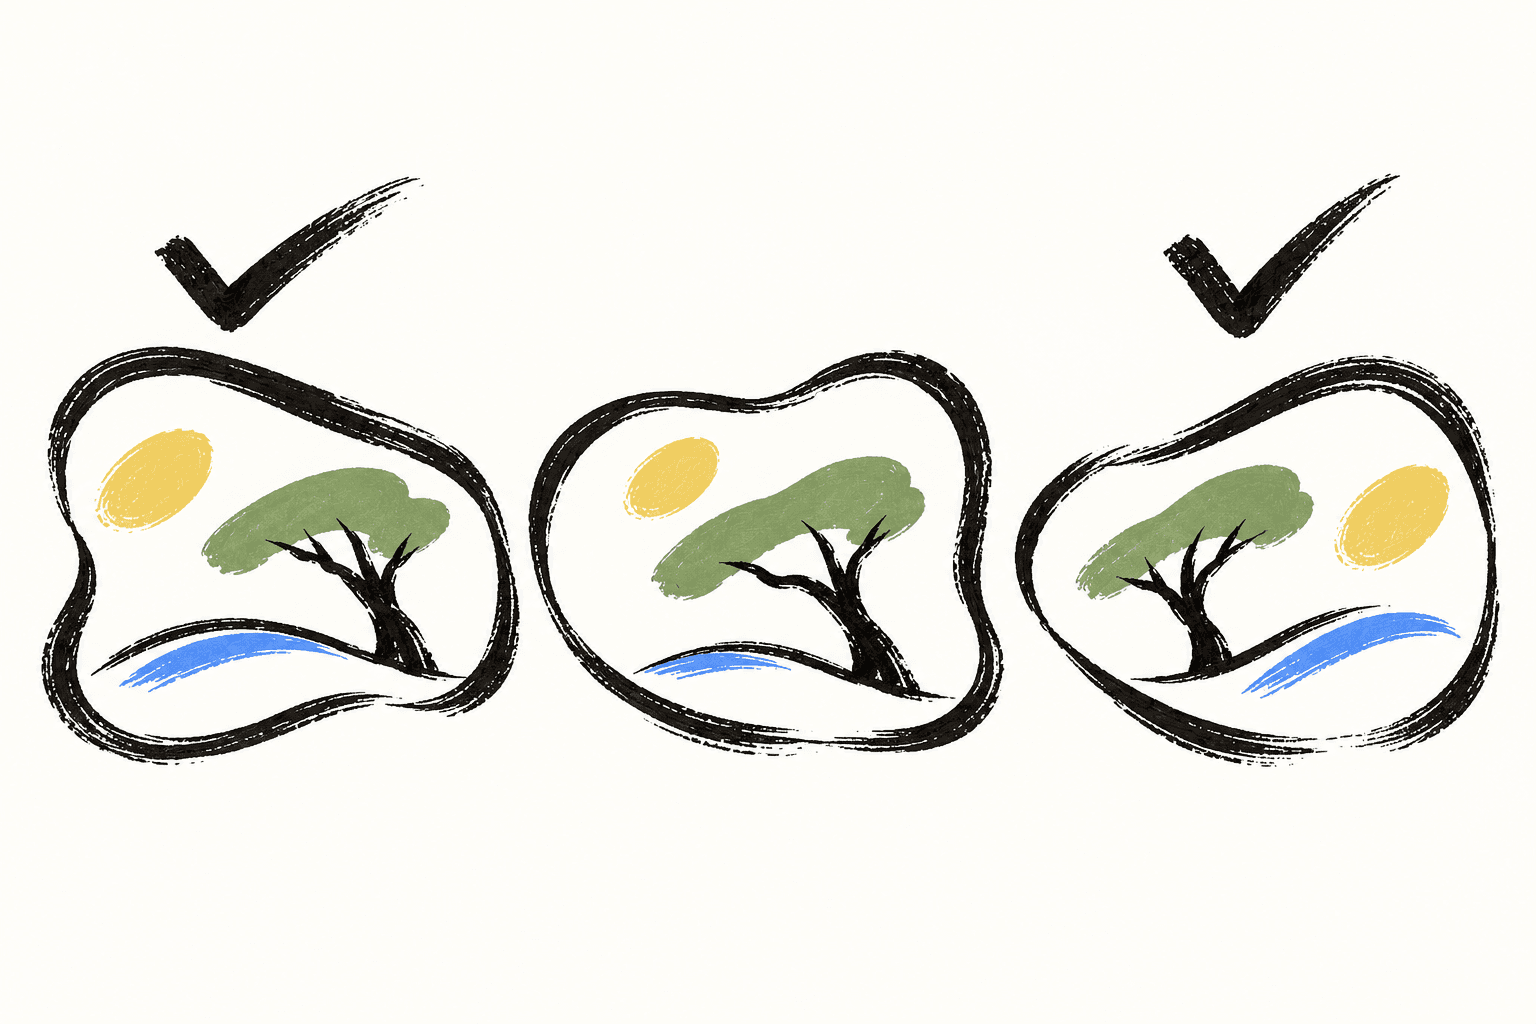
Those aren't strict rules. Sometimes I prefer a less posed expression, or even a little blur, because it suits the moment. And sometimes I keep more than one picture. If two shots give you something different, there's no need to force yourself down to one.
Two photos can both be worth keeping.
Compare the whole group. Keep the pictures that give you something different, even if that means keeping more than one.
Zoom in when a detail would change your decision. If it wouldn't, you can move on. The aim is to choose the pictures you want in your library.
Look at the individual pictures too
Once you've compared the similar shots, review what's left in that section. Ask whether each picture still has a reason to stay. A photo can matter because of the memory, because you like how it looks, or because it's useful.
I take temporary reference pictures as well as photos I want to look back at. Those need a different question: do I still need the information? A screenshot or an unremarkable reference photo might still be useful, so don't discard it just because it isn't a great picture.
If you want a separate pass through screenshots, you'll find them in Collections then Media Types then Screenshots. Apple documents where screenshots are stored. You can leave that pass for another session and stay with your chosen week for now.
Delete the pictures you've chosen
When you're ready to remove unwanted pictures, go to the Library, choose Select, then tap or slide across them. Check the selection, tap the delete button, and confirm. Keep that last check focused on the actual selection, especially when you've marked several pictures together. Apple's deletion instructions cover selecting multiple photos.
If you've been working from an album, pay attention to the action you choose. Remove from Album only takes a picture out of that album; it doesn't delete it from your library. Use the Library deletion steps above for pictures you want to discard. Apple explains removing pictures from albums.

Removing a photo from an album is different from deleting it.
Check which action you're choosing before you confirm.
Remove from Album
Still in your Library
The photo leaves that album, but stays in your library.
Delete photo
Removed from your Library
With iCloud Photos, the deletion also syncs to your other devices.
For normal personal albums. Shared Albums work differently.
If you notice a mistake, open Collections then Utilities then Recently Deleted, tap View Album, and unlock it. Tap Select, choose the picture, then More then Recover and confirm. Remember the iCloud storage exception above; recovery isn't available in every situation. Apple explains how to recover a deleted photo.
I've recovered pictures after accidental deletions while sorting manually. It was straightforward when I needed it. Still, check the selection before deleting rather than relying on recovery.
Make it easy to pick up again
When I finished a weekly album, I kept the pictures I liked, including favorites, and deleted only the ones I didn't want. Then I removed the temporary album. The next time, album 2 was my starting point.
Deleting a normal personal album leaves the pictures you've kept in the library and in any other albums. That lets you remove the finished review list without removing the photos you wanted to keep. This applies to personal albums; Shared Albums have different behavior. Apple explains deleting personal albums.
If you're working without albums, write down the next date range. “Review October 12–18 next” is easier to find than “somewhere around October.” If you stop halfway through, note the last date and picture you reviewed so you can recognize it when you come back.
You can stop after one section. You know what you've gone through, and you know where to start again. That's what made this approach manageable for me.
It's also what I wanted to improve when I built Photo Cleanup Lab: less effort finding where I'd stopped and comparing similar shots, while I still choose what stays. I'm the app's creator, and it's currently in development. The Apple Photos method above works without it.
The menu paths in this guide follow Apple's iOS 27 documentation, checked on October 30, 2026. The layout can differ on older versions. This guide covers sorting your library; Apple's Clean Up editing tool removes distractions inside an individual picture.
Sources
- Apple: Manage your photo and video storage
- Apple iPhone User Guide: Find photos and videos by date
- Apple iPhone User Guide: Sort and filter the photo library
- Apple iPhone User Guide: Create and work with photo albums
- Apple: Manage your iCloud storage on your Apple device
- Apple: What does iCloud back up?
- Apple: Delete photos on your iPhone or iPad
- Apple: If you can’t find the Duplicates album
- Apple iPhone User Guide: Find screenshots
- Apple iPhone User Guide: Add, delete, and find photos and videos in albums
- Apple iPhone User Guide: Delete or recover photos and videos
- Apple: Use Clean Up to remove distractions in Photos