Duplicate vs. similar photos on iPhone: what to keep
Got lots of photos of the same moment, or even exact duplicates on your iPhone? Here's how to sort out both: merge the copies and choose which shots to keep.
Maybe the same picture appears twice in your library. Or maybe you pressed the shutter several times and now have five different photos from one moment. Both can look repetitive in the photo grid, but they leave you with different jobs.
With duplicates, you're dealing with extra copies of the same picture, which Photos may offer to merge. Similar photos are separate shots. One might have a better expression, another a nicer composition, and a third a small detail you like. You may want to keep more than one of those.
I find duplicates in my own library, although I honestly don't know where they come from. The bigger job for me is comparing similar shots. Separating those two tasks makes it easier to use Apple's duplicate tools where they help and give the other pictures the attention they need.
What makes two photos different?
Imagine the same landscape picture appearing twice in your library. You're looking at the same captured scene again. Now imagine taking two pictures of that landscape a few seconds apart: perhaps you moved the camera, or someone stepped into the frame. Those are separate shots, and either could give you something you want to keep.

Copies of one photo
Two entries showing the same picture. Here, the same illustration is repeated unchanged.
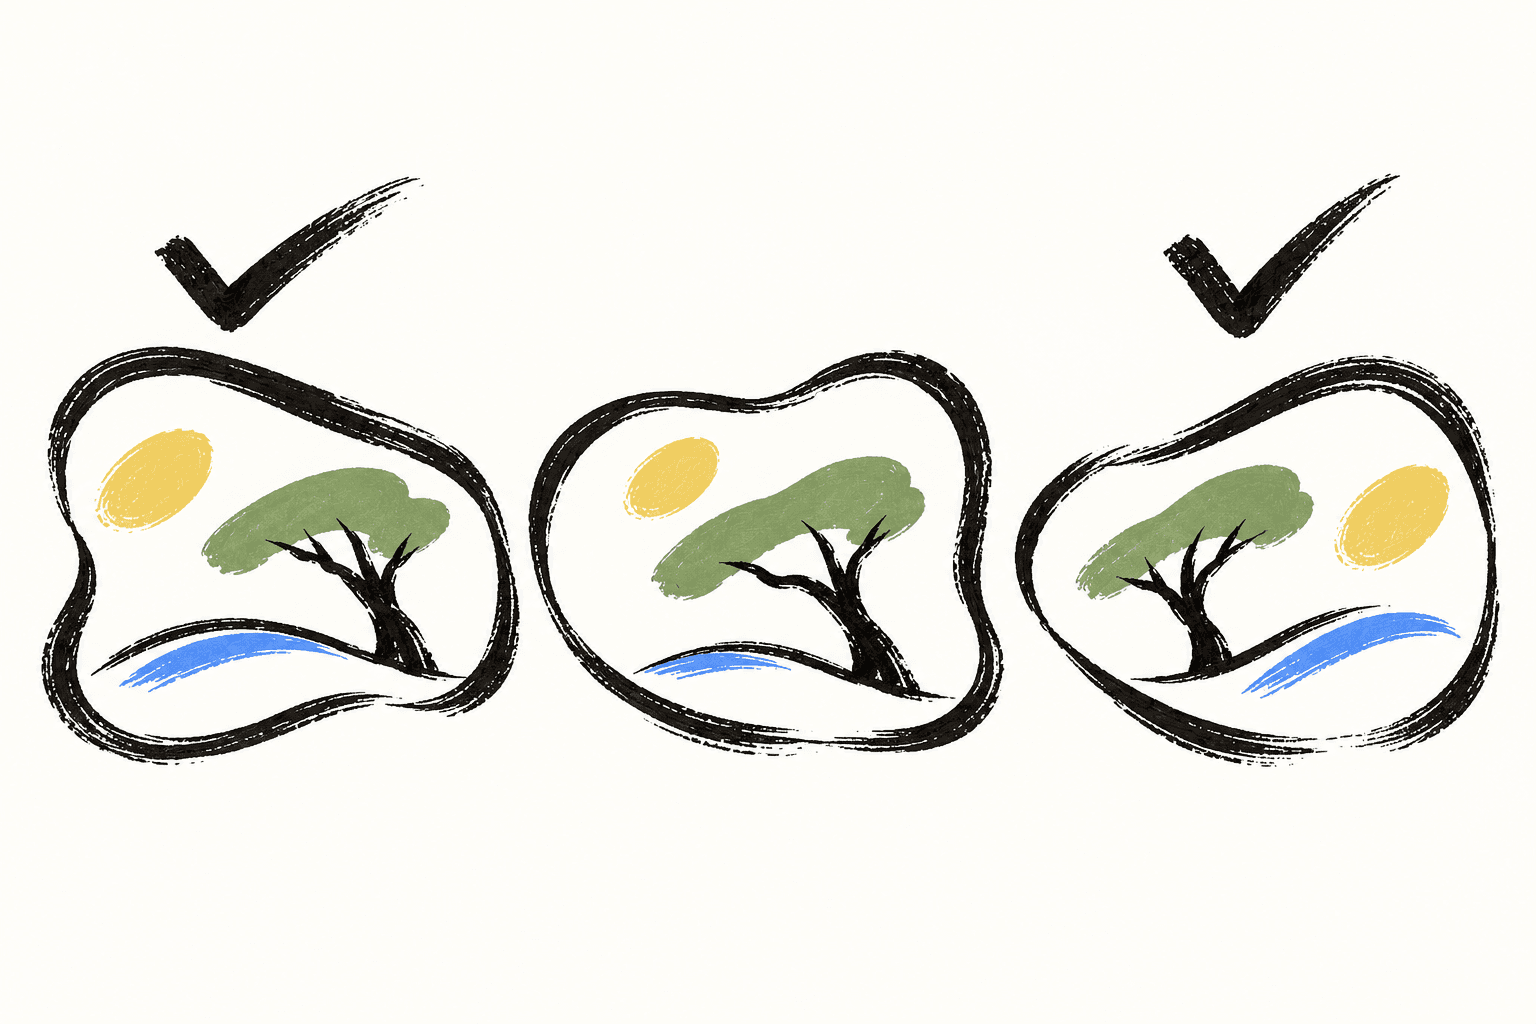
Separate shots of the same scene
Similar photos can have different framing or capture a different moment. The two checks show one possible personal selection, not a rule to keep exactly two.
Apple's Duplicates collection is a useful place to start: it shows the groups Photos has identified and offers to merge them. Treat it as those identified sets, rather than a checklist of every similar shot you might want to compare. Apple explains its duplicate-merge feature.
For the cleanup itself, ask whether another entry gives you a different picture you care about. If it does, compare the shots before deciding what can go.
Find and merge duplicates in Apple Photos
You don't need another app to check the duplicates your iPhone has found. I've found Apple's built-in merge option useful for this part of the job.
When you merge a set, Photos keeps one photo with the highest image quality and relevant data. The extra copies normally move to Recently Deleted. This combines copies into one library item; it doesn't blend different expressions or compositions into a new photograph. See Apple's explanation of what merging keeps.
If you use iCloud Photos, deleting pictures affects the same library on your other synced devices too. Keeping the library on an iPad or Mac doesn't make those pictures separate from that deletion. Apple documents how iCloud deletion works.
To review a duplicate set:
- Open Photos and tap Collections.
- Go to Utilities then Duplicates.
- Look through a set, then tap Merge if you want to combine it.
- Confirm Merge [number] Items. These are Apple's current merge steps.
You can also use Select to choose several sets and merge them together. Start with a single set if you want to see what you're choosing before doing a larger pass. Apple covers selection and merging multiple sets.
If Duplicates isn't showing
A missing Duplicates collection means your iPhone hasn't identified any duplicates. It may still be working through your library. Detection needs the phone to be locked and connected to power, and Apple says it can take up to a few days, depending on library size and other background work. See Apple's advice when Duplicates is missing.
Give that process time, but you can still compare the pictures yourself. A group of separate shots won't necessarily become a mergeable set just because they show the same scene. Duplicates is useful for what Photos has found; it doesn't replace choosing between all your similar photos.
Find and compare similar photos
For separate shots, start with a small group you want to compare. You can find it by what the pictures show or when you took them.
Find the pictures in your library
In Photos, tap Search and try a month or year, a place, or the name of a person you've identified. Tap a search suggestion or run the search, then swipe up to browse the full results. If you're following a sequence of shots, use Sort and Filter to sort the results by Captured. Apple explains searching your photo library.
For a recent day, you can open Collections then Recent Days, choose the day, then tap Show All. That's useful here because Months and Years are curated views that leave out some pictures, including similar shots. Use All or Show All when you want to review everything in that section. Apple explains the date views.
Once you've found a group, go through all of it before selecting pictures to delete. Open the photos and move between them so you can compare the details that matter to you. Looking at only the first and last can miss the one you prefer in the middle.
I usually look for a sharp picture, a composition I like, and people who look good in the shot. But I also want the photo that captures the moment for me. Those questions belong together: a technically tidy picture isn't automatically the one I want to remember.
Compare expressions and framing
Start with what draws you to each picture. In a group photo, look beyond the person in the center. Another frame may work better for more of the people in it. For a scene, check whether the framing gives you the view or detail you wanted.
Sometimes I prefer a shot where someone isn't looking straight at the camera. It can fit the moment better than the picture where they're looking and smiling. That's a personal choice, and it's a good reason to look at what changed between the shots.
Check sharpness when it changes your choice
Zoom in if you need to tell whether a face or important detail is sharp enough. If two pictures otherwise give you the same thing, that detail may settle the choice.
I usually prefer the sharper shot. Occasionally, though, a little blur works for me. Those are exceptions, but they're why I wouldn't use “slightly blurry” as an automatic reason to discard every picture. You can decide whether the imperfection gets in the way of what you like about it.
Keep more than one when they give you something different
Sometimes I keep several photos from a group. A different expression, composition, or part of the moment can be enough reason for another one to stay.
You don't need a fixed number of keepers. If you like two for different reasons, keep both. If you can't see a difference that matters to you, choose the one you prefer and consider removing the extras. The point is to keep a collection you want to look through.
This is also why an existing favorite deserves a second thought: you may have marked it for a reason that isn't obvious from picture quality. A practical reference can still be useful even when it isn't a beautiful photo.
When the pictures are a Burst
Burst mode is a specific iPhone camera feature that takes a rapid series of photos. Several pictures taken with separate presses of the shutter aren't automatically a Burst.
For a Burst, open its thumbnail, then tap Burst (number). Gray dots beneath thumbnails mark suggested photos. Select the circle on each photo you want to save individually, then tap Done. You can choose more than one. Apple describes selecting photos from a Burst.
Treat those suggestions as a starting point for your choice. A suggested Burst frame and a photo you've marked as a favorite are different things.
Delete the extras you've chosen
Once you've picked the shots you want, select only the unwanted pictures in your Library, tap the trash button, and confirm. Take a moment to check the selection before that final tap. Apple explains deleting selected photos.
Deleted photos are normally recoverable in Recently Deleted for 30 days. But if you've exceeded your iCloud storage limit, Apple says deleted photos and videos are removed immediately and aren't available for recovery there. Don't rely on that window without checking your storage. Apple documents this recovery exception.
You can finish with the group in front of you. Keep the pictures you've chosen, remove the extras you don't want, and come back to the next group when you're ready.
Sources and iOS version: Apple documentation checked October 30, 2026. The menu paths above follow Apple's current iOS 27 guidance; older versions can look different. This guide is based on documentation and my own selection preferences, rather than a device test or a test of detection accuracy.
Sources
- Apple iPhone User Guide: Merge duplicate photos and videos
- Apple: Delete photos on your iPhone or iPad
- Apple: Manage your iCloud storage on your Apple device
- Apple: If you cannot find the Duplicates album
- Apple iPhone User Guide: Search for photos and videos
- Apple iPhone User Guide: Find photos and videos by date
- Apple iPhone User Guide: Capture action shots with Burst mode